Eyebrows 101 – Grooming and Shaping Your Eyebrows Effectively
Eyebrows are without a doubt the most important step when it comes to crafting a look. It can transform your appearance in dramatic leaps and bounds. Almost everyone wants to achieve a brow-match made in heaven. However, the confusion of not knowing where to start can be off-putting. It’s daunting enough having to deal with the countless tasks ahead of your day– never mind putting together eyebrows that convey the right expressions and that match your personality. If you are like most people, getting amazing eyebrows seems like too much work. Well, the good news is that: Getting an amazing pair of eyebrows does not need to be immensely difficult. With the right preparation and technique at your disposal, you can easily create beautiful eyebrows that not only boost your confidence, but also convey positive expressions — all without spending money on expensive makeup kits, or dealing with the frustration of trial and error.
Although the definition of the “Perfect Eyebrows” is always changing depending on the trend, the effect of a well-groomed and properly shaped pair of eyebrows remains remarkably powerful. As an esthetician for 10 years and running one of the top eyebrow threading places in Edmonton, I have ample experience working with eyebrows. In this guide, I will share with you the 3 main steps to getting eyebrows that look great on you along with useful tips and tricks.When we’re done you’ll know exactly how to do your eyebrows effectively every time. Ready? Let’s dive in.
Learn to do your Eyebrows like a Professional Esthetician!
The 3 Main Steps
1. Shape Before you ever start doing your eyebrows, you need to know your shape. Just like you would blueprint a house before building it, you want to establish the skeleton of your brows before diving into shaping them.
2. Definition After that, you can define your eyebrow shape with hair removal and a trim.
3. Fill Finally, you will fill in that shape properly using brow powder and brow pencil.
In this post, we will expertly cover all of the listed topics in depth with tips and tricks from our eyebrow specialist.
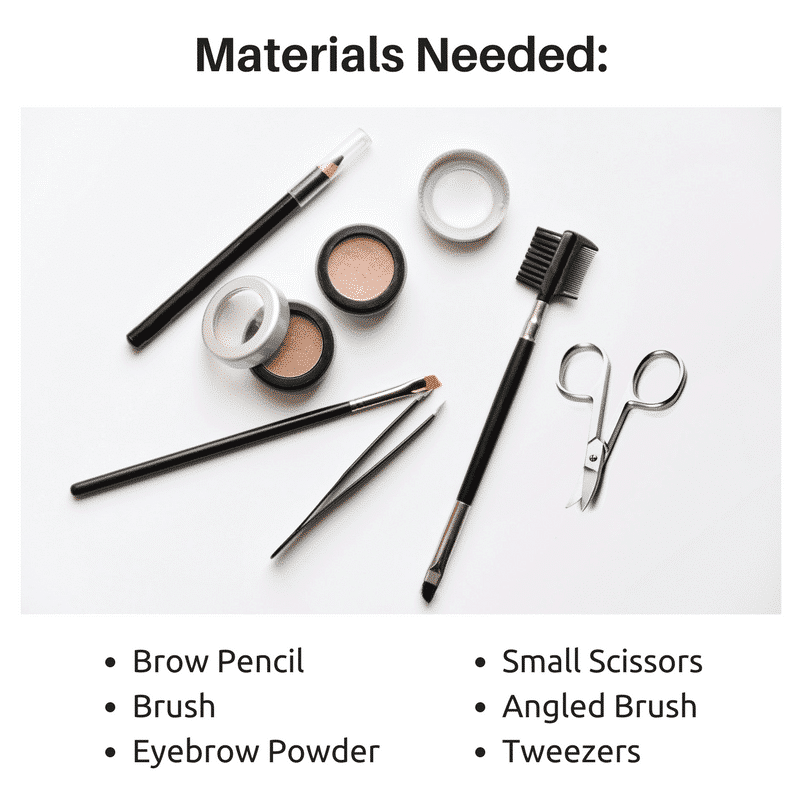
Materials Needed
Eyebrow Pencil: There are several ways to create a fuller look by adding depth and opacity to your eyebrows and the most effective are eyebrow pencils. Ensure that you opt for an eyebrow pencil with a very fine tip. Such can make small strokes that actually resemble hair follicles. You will also want to ensure that the eyebrow pencil is a shade lighter as well as more muted as compared to your hair color for a more natural look
Tweezers: While it’s best to have your eyebrows shaped by a professional, it’s always advisable to have a pair of quality tweezers at hand. These help you get rid of the stray follicles with little or no pain whenever you don’t have time to go to the salon. Good tweezers can cost anything from less than $5 to over $25 depending on where you buy and the brand.
Brush: To comb your unruly eyebrow hairs you will need a spiral brush as well. You will also use this to sweep the hairs upwards before cutting thus ensuring you don’t cut your eyebrows too short.
Angled Brush: To apply eyeshadow or eyebrow powder to the eyebrows
Small scissors: You will need these to trim extra-long hairs. This is a task you will need to complete probably every two to three weeks. opt for small scissors.
Rejuvenator: For bold brows, having a rejuvenator is key. Not only does a rejuvenator keep your eyebrow hair healthy but it also promotes their growth and keeps them voluminous. Brow Powder: This works miracles for the final eyebrow look. If you have thin eyebrows, having a brow powder helps beef up the texture of your eyebrows. This not only adds actual volume, but it makes your eyebrows appear thicker. If the goal is to add depth to hairs that are too light to be seen or disguise hairs, tinted brow powders are the best solution. Eyeshadow can also be used instead.
Step 1. Finding your Shape:
Eyebrows aren’t one-size-fits-all. The ideal eyebrow shape is different for every face type. Ideally, your brow shape is not dramatically different from your natural brows. Before you find your shape, you need to know the main parts of the brow. So, let’s start off with the anatomy of the brow.
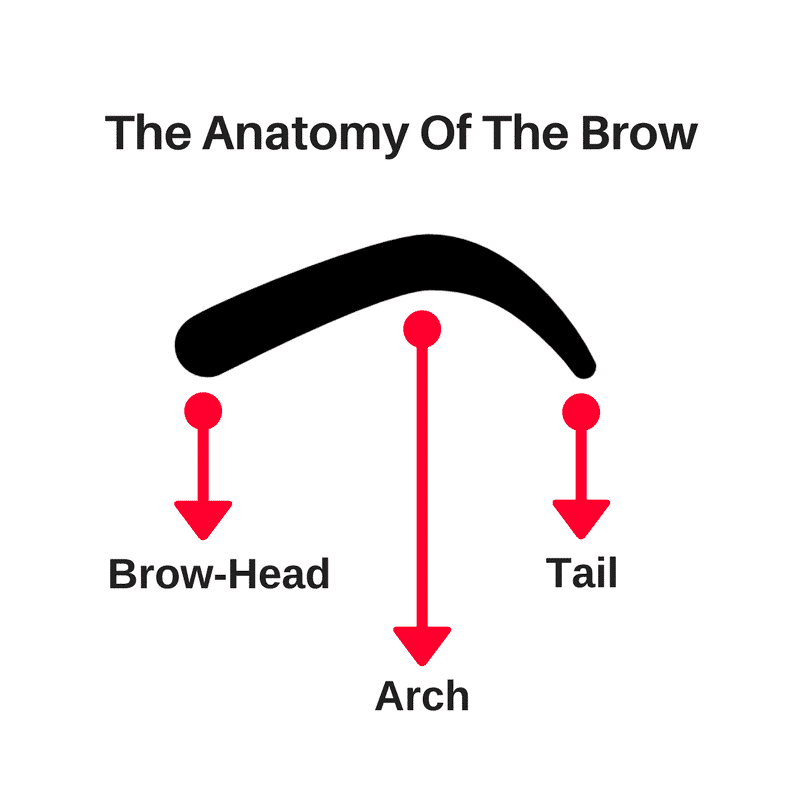
These are terms you need to know: The brow head- This is where the eyebrow begins. The more hair that is in this area the bolder the eyebrow looks.
The arch- This refers to the curve on the brow. The higher the arch the more expressive the brows look. The lower the curve the more natural the brows appear.
The tail- This is the end part of the eyebrow. Overextending the end tail of your eyebrows can make your face look droopy and tired. You want to maintain a tail length that is natural and lifts your face up.
Now that you know these terms, you will use a simple pencil trick to pin point exactly where your brow head, arch, and tail are located. The Brow Pencil Trick:
To find the horizontal position of your brow head Take a pencil and line it up with the bridge of the nose. Point straight up and make a mark where the brow head should begin. Do not remove hair beyond this point.
Note: You can also line it up with the outer edge of the nostril but that will lead to eyebrows that are more separated. If you have a prominent nose, please line up the brow head with the nose bridge aka the bony part of the nose.
To find the horizontal position of the arch While looking in the mirror find the outer edge of your eye’s iris. Point pencil straight up and make a mark. This will be the highest peak of your eyebrows. You can also take the pencil and line it up with the outer edge of the nostril and through where the pupil is when it intersects with the brow that will be the highest peak. To find the horizontal position of the tail end. Using the pencil, line up the outer edge of your nostril and the corner of your eye follow this point up to your eyebrow and make a mark. This mark will be the end of your eyebrow. To line up the bottom anchors of your brow head Take the pencil and keep it parallel to the face. Ensure that both brow-heads start at the same height. If one is lower or higher, match with the other using a brow pencil and draw in hair like strokes.
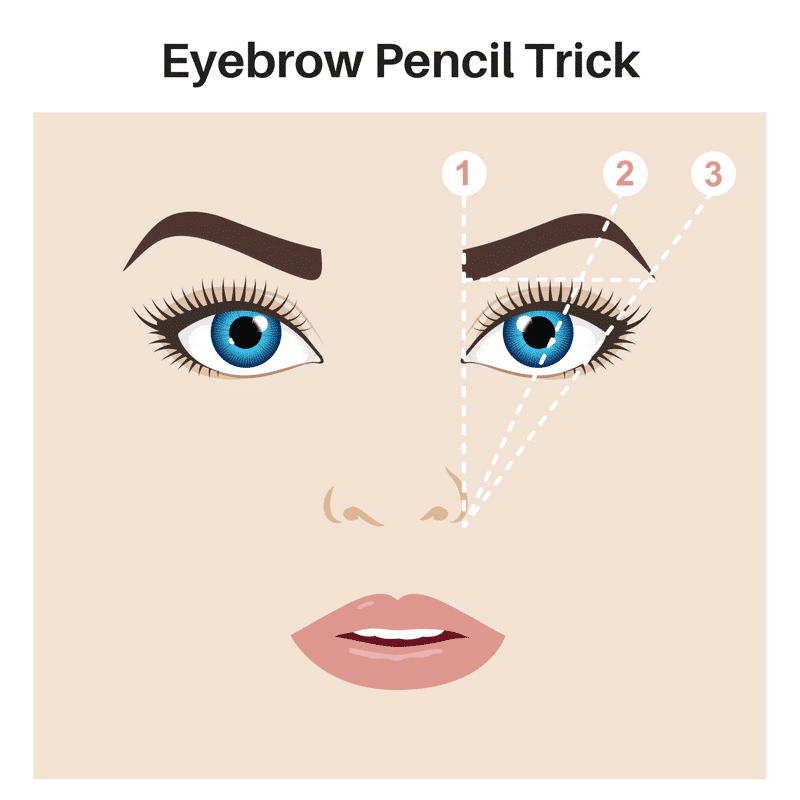
The pencil trick does work pretty well for finding the placement of the brow head, arch, and the tail; however, the shape of the eyebrows must also be considered.
There are 5 basic eyebrow shapes you need to know.
Knowing their effects on the face are essential.
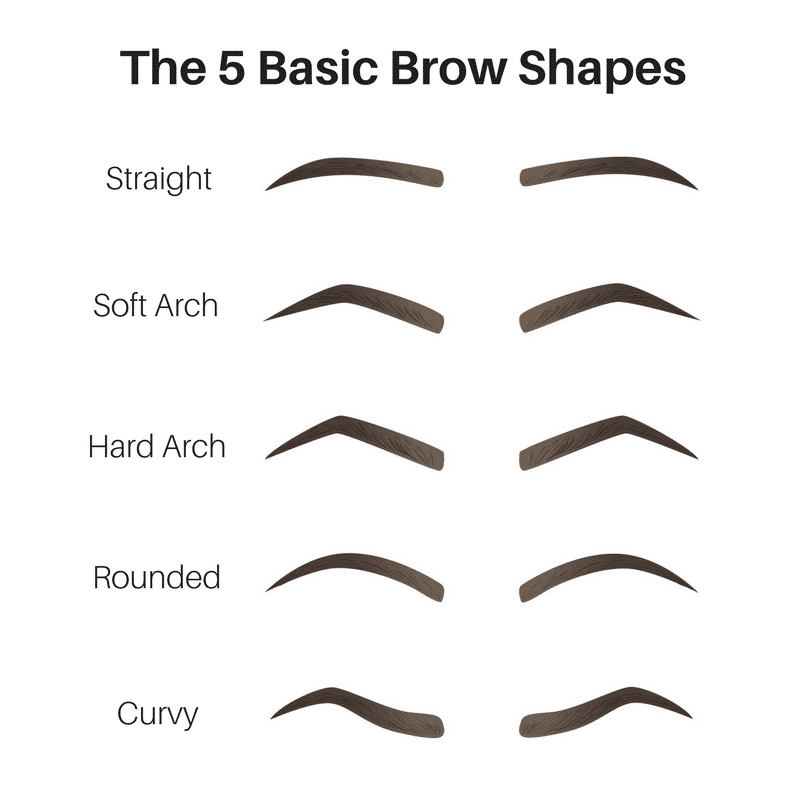
Straight: Eyebrows that are straight or flat help the face appears shorter and more relaxed.
Soft Arch: A subtle arch gives the face a more feminine look while retaining a calm expression.
Hard Arch: A prominent arch gives a youthful appearance to the face. This strong brow works great with other strong features on the face such as a square jaw and a pointed chin. These brows help a short face appear longer and a round face appear slimmer. Avoid arching the brows too much as it can create a cartoonish fake look.
Rounded: This shape helps soften sharp features by adding roundness to the face.
Curvy: This shape works great on all face shapes as it is the most flattering. It has a good blend of angles and roundness. Note: We do not recommend changing the eyebrow shape that mother nature gave you. It is recommended to try to follow your natural shape. However, it is essential to know these shapes to help you recover your natural shape if you have lost it or if your natural shape is not easily visible.
Changing your natural shape can be hard to maintain and may look out of place. The shape of your brow must compliment your face shape. Here is a chart that shows the face shape and its recommended brow shape.
Face shape:
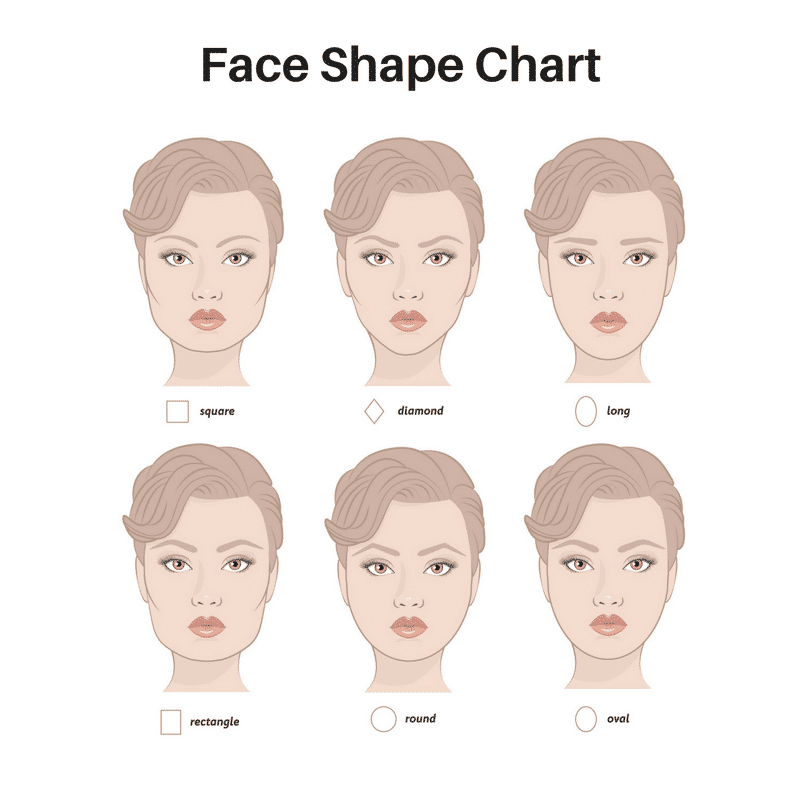
Thickness: Now that you have found your shape you need to know the thickness that your brows require.
Your ideal thickness will generally be the thickness of your natural brows, but if they are not visible need consider your face shape.
Long Face
A long face generally looks best with thicker brows and a flatter brow shape.
Oval Face
For an oval face, either thick or thin brows work, but preferably thicker brows with a soft arch.
Square Face
A squared shape face is most complimented by thicker brows that soften the jawline and a rounded brow shape to balance the defined angles.
Round Face
If you have a round face, either a thicker or thinner eyebrow would work, though a thicker eyebrow is more prominent, balancing your rounded face shape more effectively.
To find your ideal thickness you need to know your features. Having strong features such as a prominent nose or large eyes need to be counter acted by another strong feature, aka your eyebrows. If you have prominent features, you need to add thickness to your brows. It is highly recommended that you should stick to your natural eyebrow shape and only get it polished and groomed. The natural shape is often the best options after some minor tweaking. For a complete eyebrow makeover, you will need a skilled eyebrow artist. This is an investment that we highly recommend as a brow artist can fully customize your brows to make them ideal for your face.
If you are still struggling with your shape, please feel free to contact us or come into our kiosk. We would love to assist you.
Step 2. Defining the Shape Now that you have found your ideal shape, you need to finalize it.
There are many options when considering hair removal, but we will show you the best options and their advantages and disadvantages. The 5 Main Types of Hair Removal and their Pros and Cons:
Threading:
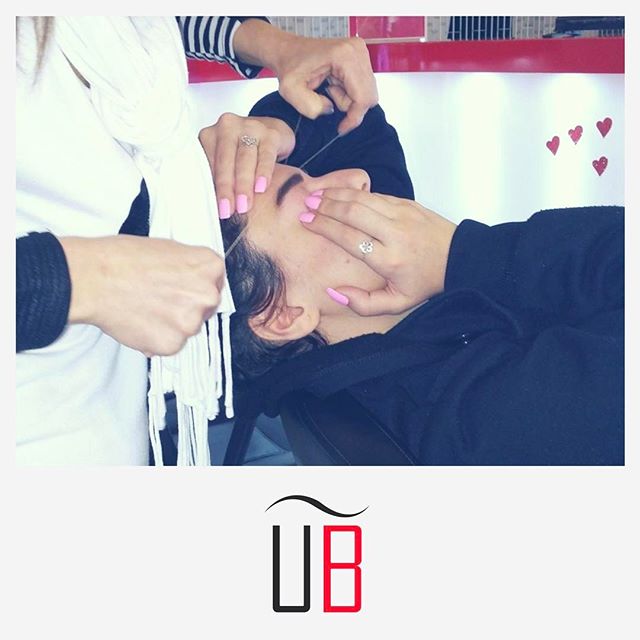
Where threading artist uses a cotton thread and rhythmic movements to remove hair in rows.
Pros- When done by a professional it is very accurate, painless, and quick. New hair growth is lighter. Cons- If not done properly, it can damage your follicles and can be uncomfortable. Hair growth is also faster than waxing. Tweezing: Hair removal using a tweezer to pluck individual strands of hair. Pros – This method is easiest to do at home and relatively inexpensive. Cons- If not done right can lead to ingrown hair growth and may lead to over plucking if not careful Waxing: Application of a thin layer of wax that hardens and is quickly ripped off the skin to remove hair. Pros – This method is quick and can be done at home. Cons – This method can peel off skin and can be painful. This also requires some length of hair to work also not very accurate for eyebrows.
Laser: Pulses of high intensity that destroy hair follicles.Pros- Hair regrowth is slower and limited.Cons- Does not allow for the sculpting of the eyebrows. Time-consuming and expensive. Not as effective for light haired people.Shaving: Using a sharp razor to slice hair down to the skin. Pros- This method is quick, painless, and cheap. Cons- Quick and Course hair growth. The skin becomes discolored due to stubble on lighter skin. Once you start shaving, you need to continue doing it to avoid a stubble.
Our recommendation: Threading if you have a professional eyebrow threading artist, otherwise stick with tweezing.
Tweezing at Home:
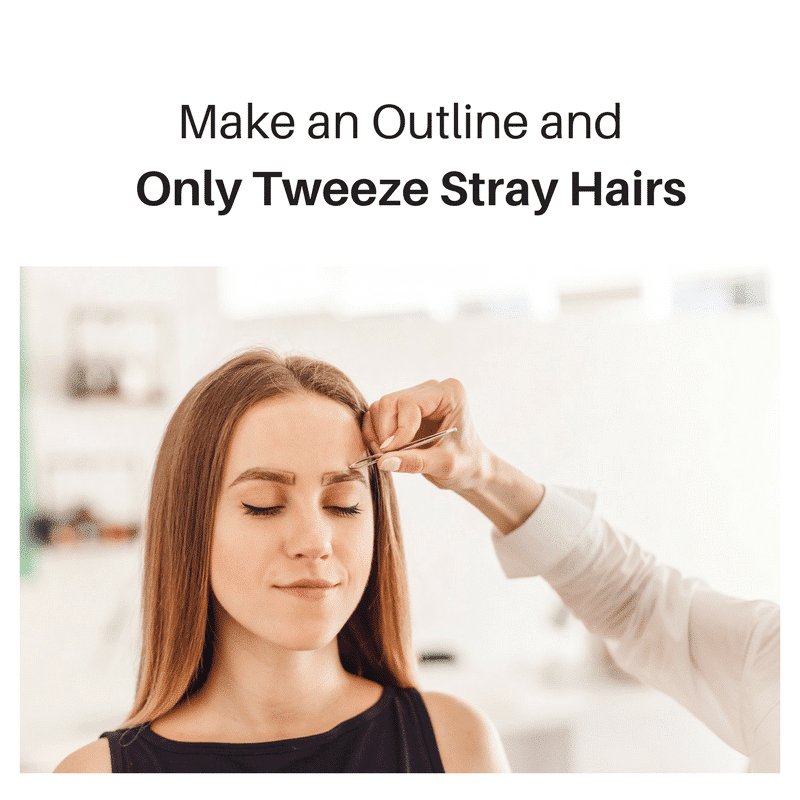
1. Outline your eyebrows using the marks from the brow pencil trick and connecting the dots. Keep in mind to only target the stray hairs outside the outline for removing. This way you will avoid over plucking
2. Begin tweezing in your arches. Stretch the skin and start removing hairs. Defining the arch by only selecting the stray hairs.
When tweezing pull in the direction of hair growth to avoid ingrown hair.
3. Match the Arches. Before removing any more hair on the first brow, match the arch of the second brow using a pencil to check if they are even.
4. Then remove the uni-brow hair that lies beyond the brow-head markings.
Stop- Stand back. Take a look in the mirror to see if the brows are looking equal and harmonious with your face.
Pro tip: To avoid over plucking try to remove only one line at a time.
Tweak as necessary
Trimming: How to trim wild unruly eyebrow hair? Use a spiral brush or disposable mascara wand that is clean. Comb eyebrow hairs upwards. Trim unkempt hairs carefully using small scissors while aligning with overall brow shape. Congratulations! You have successfully identified your eyebrow shape and finalized your ideal shape. Your eyebrows are now ready to go. If you still have sparse hair or bald spots, or if you are looking to add a little more intensity to your eyebrows, you will need to use some clever makeup.
The next step to getting your ideal brows is shaping them with makeup.
Step 3. Shaping your Brows with Makeup
Now, this step is not necessary but it can drastically improve the way your eyebrows look. You will need to find your shade and then fill in your brows. Let’s show you exactly how to do that. 1. Shade of Brows Finding the proper shade varies according to the density of one’s eyebrow hairs. It is generally recommended that dark haired people go one or two shades lighter than the colour of the hair on their head. Light haired people should get a colour two shades darker than the color of hair on their head. This may not work for you so it is recommended to try out different colours before committing to one.
2. Outlining Use your ideal shape to outline your brows. First comb the hairs upwards and then, using the same brow pencil trick again make the required marks on brow head arch and tail. Then carefully draw an outline that will serve as a background for the hairs. Connect the dots and line up the peaks and the tails using the pencil.
3. Filling in bald spots
For those with sparse haired eyebrows, clever use of a brow powder and pencil can enhance the look of your brows by filling in gaps and giving you a bolder look you desire. Knowing how to use these tools properly can help you avoid that drawn in cartoonish look.
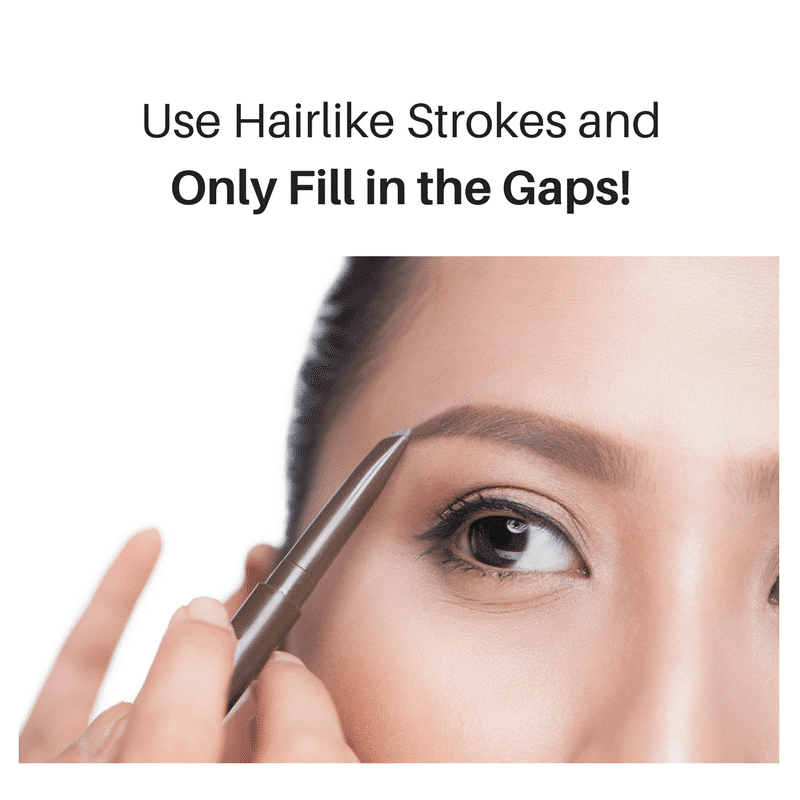
How to use Brow Pencil: Get a fine tipped brow pencil and make hair like strokes trying to stay within the brow’s outline. Fill in only the sparse and thin areas, not the entire brow. Comb through the eyebrows to find the gaps, fill them in with hair like strokes. To help make it look natural, use the spiral brush to blend. This way you will avoid the drawn-in effect.
This video is a really good example
Highlighting your Brows
You can also highlight the brows as seen in this tutorial. This effect can make your eyebrows look sharp and professionally shaped. To do this use a highlighter pencil and underline the bottom of your brows. Use a blending brush to soften the look.
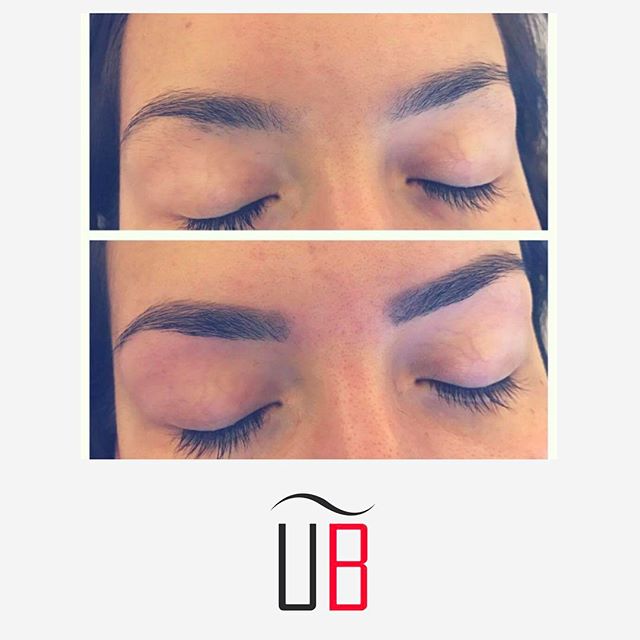
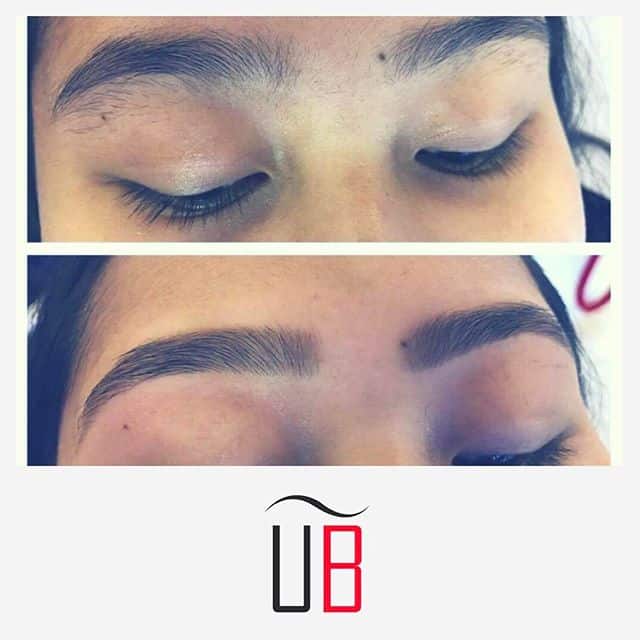
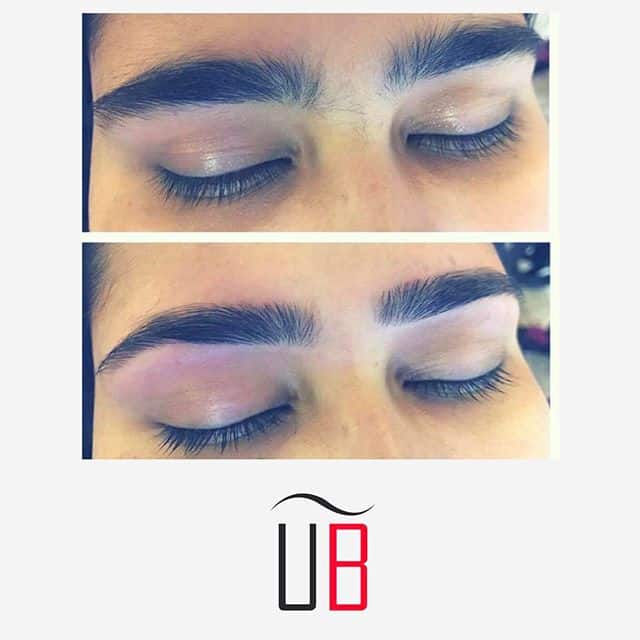
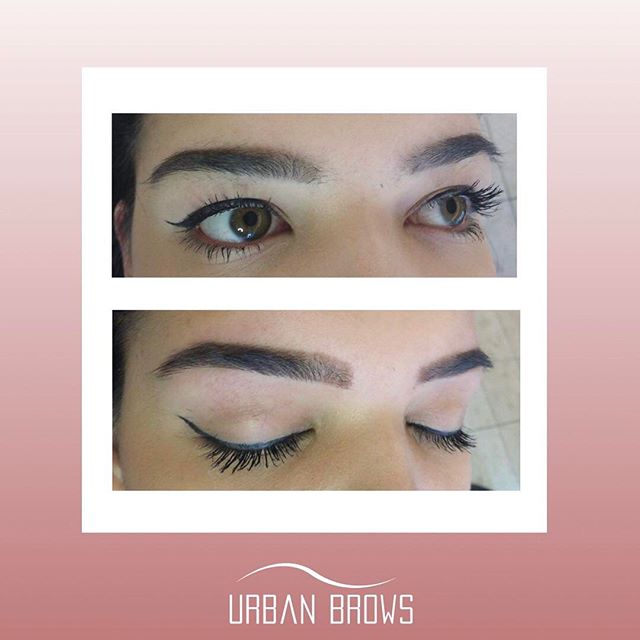
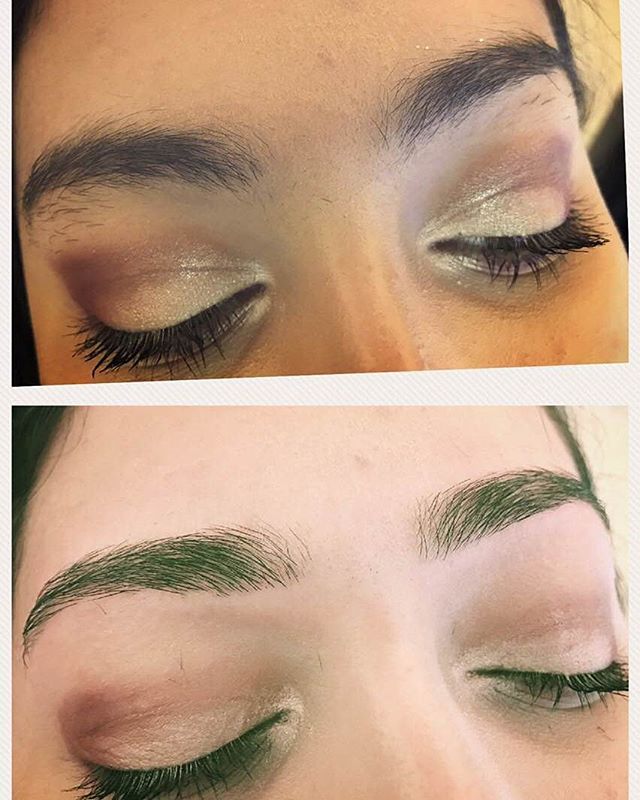
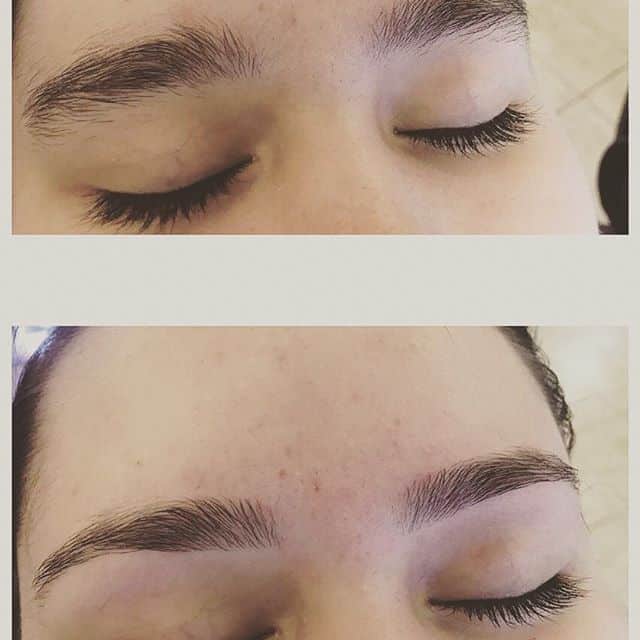
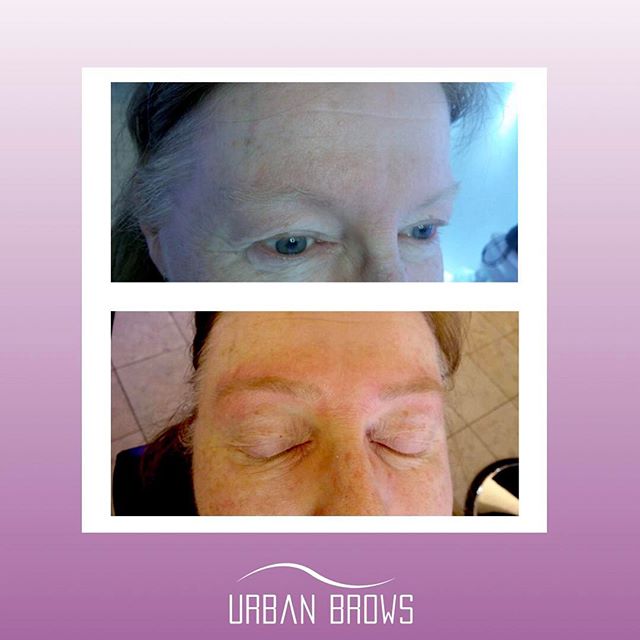
Before and After
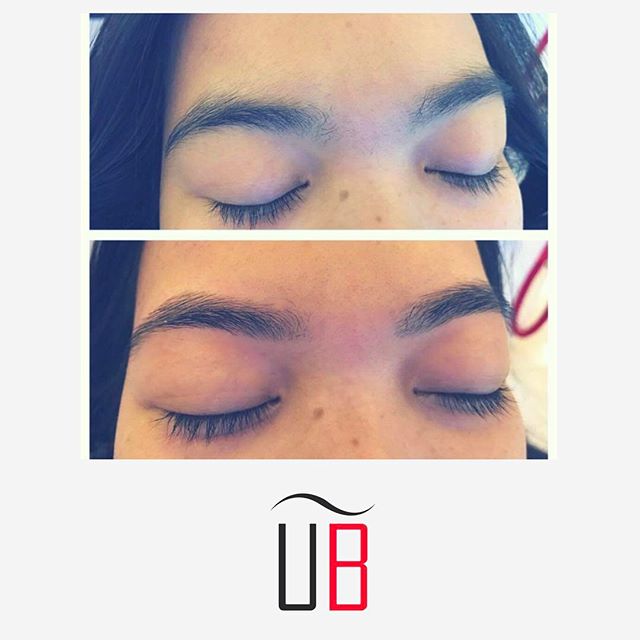
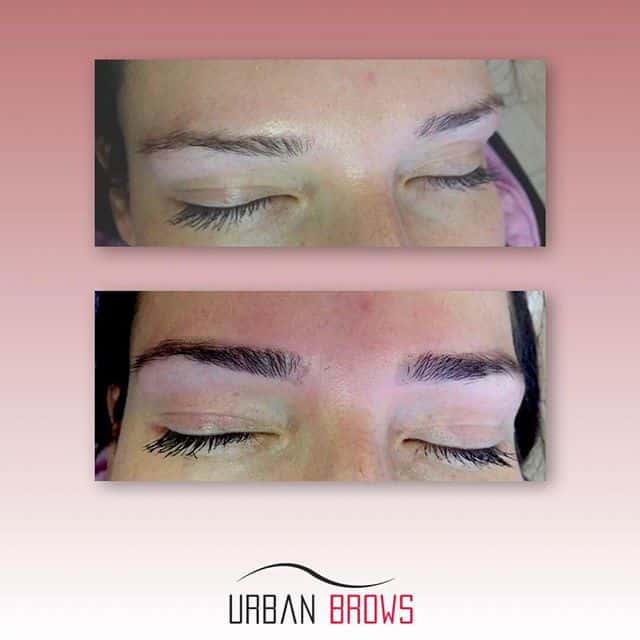
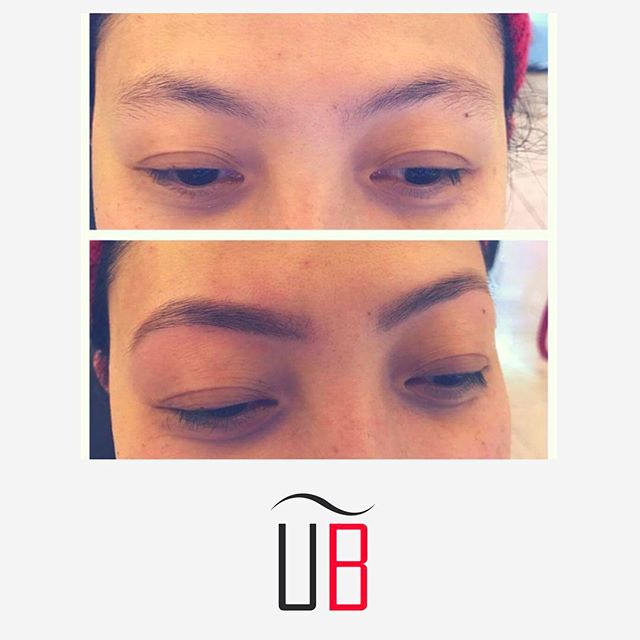
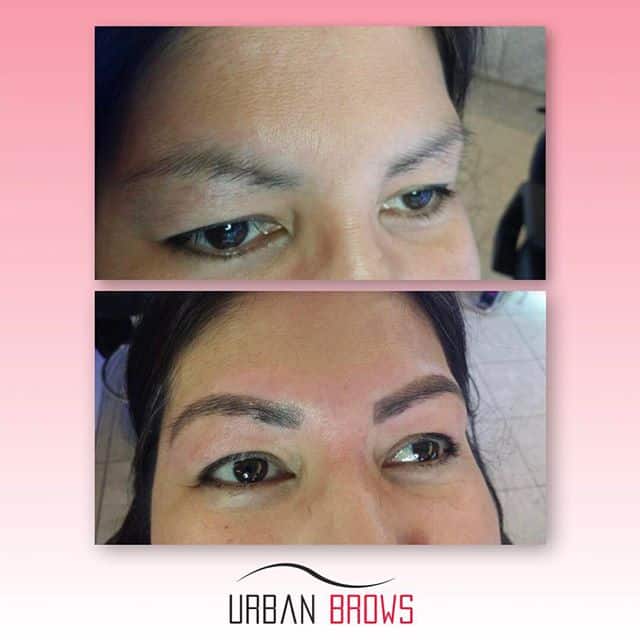
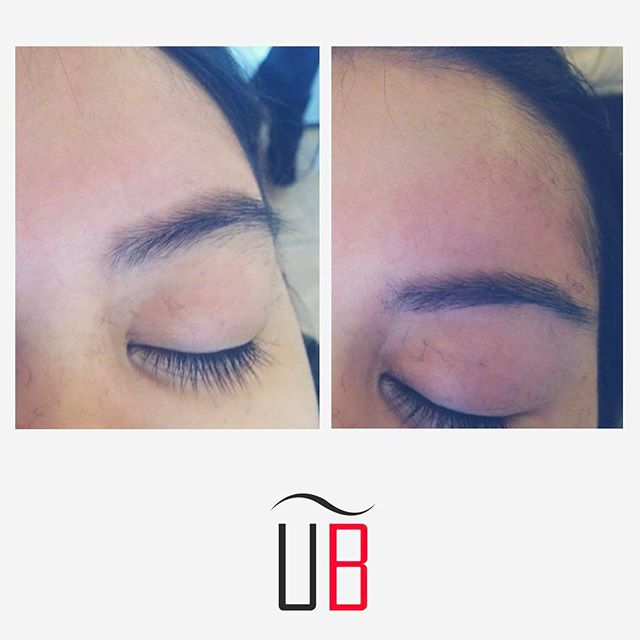
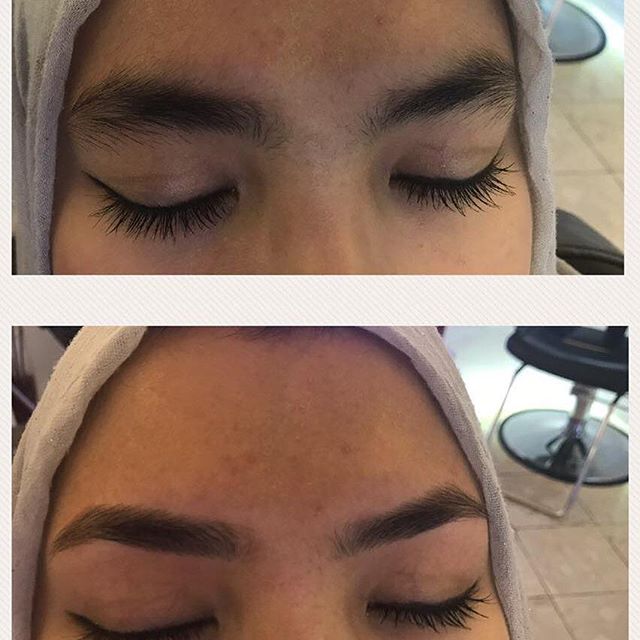
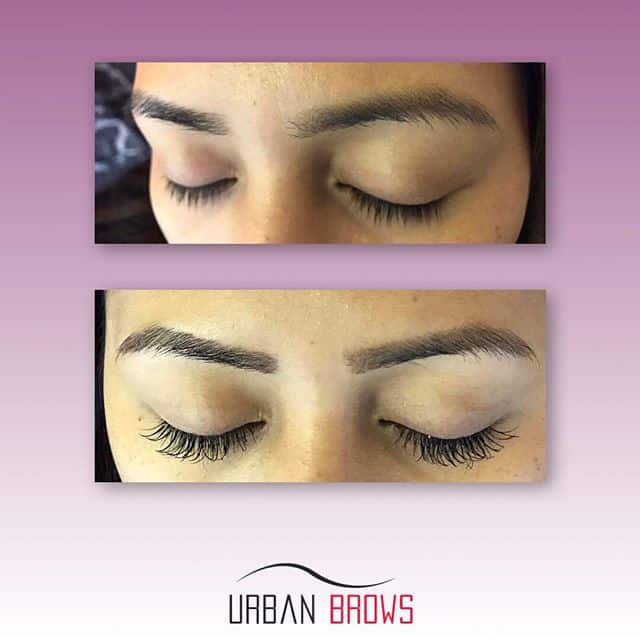
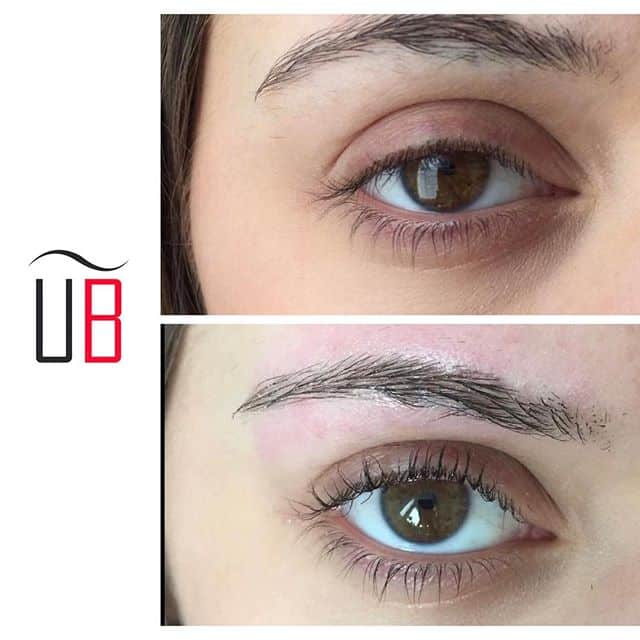
We hope this guide was useful to you. If you liked it please share it with someone who might also enjoy or find this information useful.


